Tossed Up Corn Corn Husks in Blue Cardboard Box
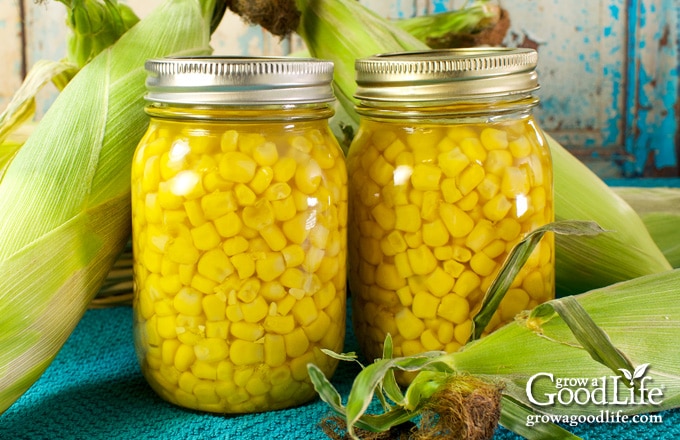
There is nothing like the flavor of freshly harvested corn. Take advantage of the abundance of crisp sweet corn and preserve it for winter meals. Learn how to can corn into shelf stable jars for your pantry food storage.
Canned corn can be used in so many ways, including tossed in salads, added to soups, stews, and chills, and simply buttered and served as a side dish.

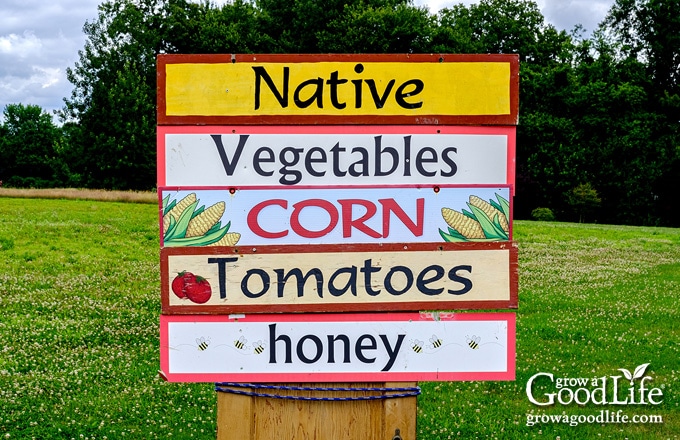
We don't grow corn because it takes up a lot of space in the garden. Instead, we rely on our local roadside farm stands to purchase corn for preserving. I love seeing the roadside signs announcing, "CORN!"
Most often, these stands are unmanned and rely on the honor system. You can clearly see the freshly harvested corn piled up on a table from the road. I gather what I need, and slip cash into the pay box attached to the stand.
Tips for Canning Corn
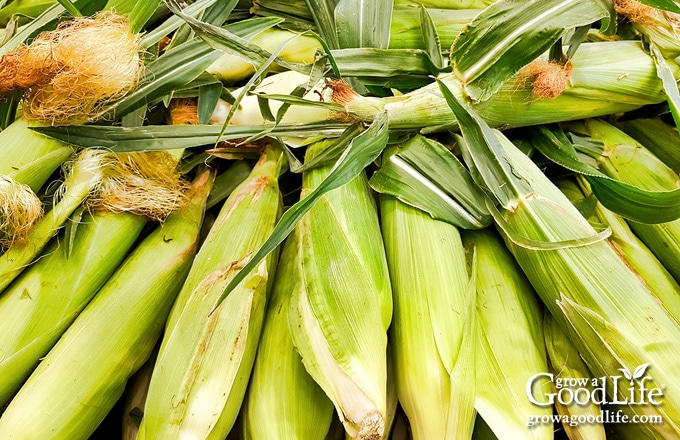
Select freshly harvested corn from your local farm stands or farmers' market. Try to process within a day or two of harvesting. As with all preserving methods, the quicker you can preserve it, the better quality it will be.
Use a Pressure Canner
Corn is a low-acid vegetable and can only be canned safely using a pressure canner. A pressure canner heats the contents at a high temperature necessary to kill bacteria that can cause botulism. You cannot can plain corn in a water bath canner safely unless you are using vinegar, such as this pickled corn relish recipe. The canner I use is a Presto 16-quart aluminum pressure canner. It holds a canner load of 9-pint or 7-quart size jars.
Choose the Best Corn for Canning
You will need about 20 pounds of corn on the cob in their husks for a full canner load of 9 pint sized jars, and 32 pounds for a canner load of 7-quart jars.
Corn Varieties for Preserving
Some corn varieties are better for canning than others. Sweet corn is roughly divided into three distinct types according to genetic background: normal sugary (SU), sugary enhancer (SE) and supersweet (Sh2).
For canning, look for normal sugary (SU) and sugar enhanced (SE) varieties. Bodacious and Incredible are good extra-sweet yellow varieties. Temptation, Delectable, and Providence are good extra-sweet bicolor varieties. Silver King and Whiteout are extra-sweet white varieties.
The supersweet (Sh2) corn varieties tend to brown when canned due to the sugar levels and may also result in tough kernels when processed. These are best eaten fresh.
How to Select Good Quality Ears
The best way to select corn is to peel back the husk and take a peek. However, this ruins the corn for the other customers. Instead follow these tips to select the best fresh corn for canning:
- Look at the Tassels: The corn silks at the top of the cob should be yellowish-brown, tacky, and smell fresh. The corn is older if the tassels are black, mushy, or dry.
- Examine the Husk: Freshly harvested corn will have bright green blemish free husks that wrap the ear firmly. Dried layers indicate the corn has been off the stock for a while, and holes in the husk may reveal insect damage.
- Feel the Ear: Gently squeeze the corn to see if it is solid. Run your fingers from the top to the bottom. The ear should feel firm when squeezed and the kernels evenly formed. Avoid cobs that have soft spots or areas where kernels are missing.
Steps for Pressure Canning Whole Kernel Corn
If you are new to canning or haven't canned in a while, you may find it helpful to review this article on "Using Pressure Canners" at the National Center for Home Food Preservation website along with the instruction manual that came with your pressure canner. Make sure everything is clean and working properly. Double check that the steam vent is clear.
This is a safe caning recipe from the USDA Complete Book of Home Canning and the Ball Blue Book Guide to Preserving books. A more detailed and printable recipe can be found at the bottom of this article, but these are the general steps for pressure canning whole kernel corn:
Step 1: Prepare the Corn
Husk the corn, remove silk, and rinse well under clean running water. Air dry on kitchen towels.
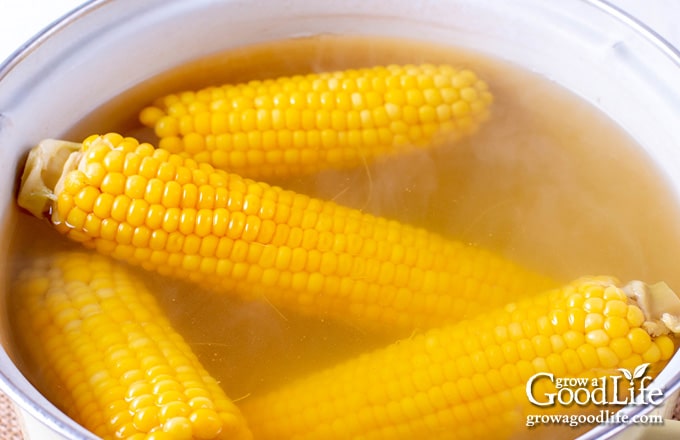
Blanching the corn makes it easier to cut the kernels from the cob. Bring a large pot of water to a boil over high heat, and fill a large bowl with ice water. Once the water boils, drop several cobs into the pot and blanch for 3 minutes. Remove the corn and plunge into ice water to stop the cooking process. Remove the cob from the ice water and place on clean kitchen towels. Repeat until all the corn is blanched.
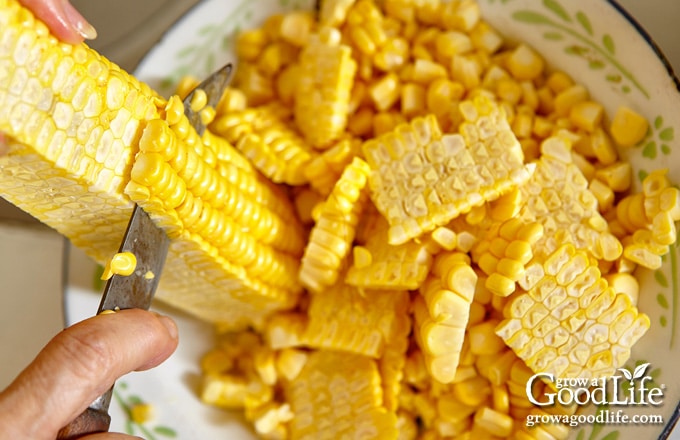
Cut the kernels off the cob without going too deep. Scraping the cob will add a lot of starch that will make your canned corn cloudy. Instead, try to cut about three-fourths the depth of the kernel from the cob using a sharp knife.
I find the easiest way to do this is to trim off the pointy tip of the corn, and position it on the bottom of a large bowl slightly tilted towards you. While holding firmly at the stem end, carefully run the knife down the cob, slicing away from you towards the bowl. The kernels will fall into the bowl. Twist the cob and continue slicing until all the kernels are removed from the cob.
Step 2: Prepare the Canning Equipment
Gather your canning gear, prepare the jars, set up the canner, and organize your work area.
You will need the following:
- Pressure canner with canning rack
- 9 pint sized canning jars or 7 quart sized canning jars
- Canning lids and bands (new lids for each jar, bands can be reused)
- Canning tools: jar lifter, canning ladle, funnel, and bubble popper
- Plus basic kitchen supplies such as a large pot, large prep bowls, tongs, knife, cutting board, and kitchen towels.
Wash the canning jars, lids, bands, and canning tools in hot soapy water, and rinse well. Set the lids and bands aside to air dry until you are ready to use them.
Place the pressure canner on the stove, and insert the canning rack. Add water per your pressure canner manufacturer's instructions: Presto is 3 quarts, Mirro is 2 quarts, and All American is 2 to 3 inches. Fill the clean jars halfway with hot water, and then place them on the rack in the canner. Bring the canner to a simmer for 10 minutes (180˚F). Keep hot until you are ready to fill them.
In addition, bring a large saucepan of water to a boil over high heat. This will be the water you will be using to fill your jars.
Step 3: Can the Corn
Spread a kitchen towel on the counter. Use the jar lifter to remove a jar from the canner. Pour out the water (save it for washing dishes), and place the jar on the towel. Keep the remaining jars in the canner, so they stay hot.
Place the canning funnel on the jar and fill the jars loosely with raw kernels, leaving about 1 1/4 inch headspace. Don't shake, press down, or compress the corn. Corn contains a lot of starch and tends to swell during processing. You want the individual kernels to be free to move around and expand when processed in the canner.
If you are using canning salt, add up to 1/2 teaspoon per pint jar, and up to 1 teaspoon of canning salt per quart jar. Add fresh boiling water, maintaining 1-inch headspace. Try to aim for about 1/4-inch of water over the corn. This seems to help prevent liquid from siphoning out. Run the bubble popper through the jars to remove air bubbles, and clean the rim with a damp paper towel.
Center a lid on the jar, place the band over the lid, and screw it on until fingertip tight. Immediately place the jar back into the rack in the canner, and repeat with the rest of the jars.
Step 4: Process the Jars
Place the lid on the canner, and lock it. Bring the canner to a boil over medium-high heat. Process the jars according to the instructions for your canner for the proper times indicated below.
Let the canner cool, remove the jars, and let them cool completely. Wash the jars with soapy water, label, date, and store the jars of canned corn in a cool location. Use within 12-18 months.
To use, empty the jar into a saucepan and heat on the stove for about 10 minutes. Adjust seasonings to taste and serve. Or drain and add to your favorite recipes. Here are a few to try:
- Creamy New England Fish Chowder
- Homemade Turkey Noodle Soup
- Tomato and Corn Salsa Recipe
- Crockpot White Bean Chicken Chili
Canning Corn: How to Can Whole Kernel Corn
There is nothing like the flavor of freshly harvested corn. Take advantage of the abundance of crisp sweet corn and preserve it for winter meals. Learn how to can corn into shelf stable jars for your pantry food storage.
Servings 36 servings
Calories 66 kcal
- 20 pounds sweet corn in the husk (for pints,see note below for quarts)
- canning salt or pickling salt, optional
Prepare the Corn:
-
Husk the corn, remove silk, and rinse well under clean running water. Air dry on kitchen towels.
-
Bring a large pot of water to a boil over high heat, and fill a large bowl with ice water.
-
Once the water boils, drop a few cobs at a time into the pot and blanch for 3 minutes. Remove the corn and plunge into ice water to stop the cooking process.
-
Remove the cob from the ice water and place on clean kitchen towels. Repeat until all the corn is blanched.
-
Cut the corn off the cob about three-fourths the depth of the kernels without scraping the cob.
Prepare the Canning Equipment:
-
Wash the jars, lids, and rings in hot soapy water and rinse thoroughly. Set the lids and rings aside until you are ready to use them.
-
Place the jar rack into the pressure canner, and fill with water per your pressure canner manufacturer's instructions: Presto is 3 quarts, Mirro is 2 quarts, and All American is 2 to 3 inches.
-
Fill the jars halfway with hot water, and then place them on the rack in the canner. Bring the canner to a simmer for 10 minutes (180˚F). Don't boil, but keep warm until you are ready to fill them.
-
Fill a large pot with clean water and bring it to a boil over high heat, then reduce the heat to a simmer (180˚F), and keep hot until you are ready to use it. This will be the water you will be using to fill your jars.
Can the Corn:
-
Lay a kitchen towel on the counter. Use your jar lifter to remove a jar from the canner. Pour out the water (save it for washing dishes), and place the jar on the towel. Keep the remaining jars in the canner, so they stay hot.
-
Fill the hot jar loosely with raw kernels, leaving about 1 1/4-inch headspace. Don't shake, press down, or compress the corn. You want the individual kernels to be free to move around when processed in the canner.
-
If you are using salt, add up to 1/2 teaspoon per pint jar, and up to 1 teaspoon of canning salt per quart jar.
-
Ladle hot water into the jar over the corn while maintaining 1-inch headspace. Run the bubble popper through the jar to release air, and wipe the rim with a damp towel.
-
Center a lid on the jar, and screw on band until it is fingertip tight. Use the jar lifter to place the jar back on the rack in the canner, and repeat with the rest of the jars until the canner is filled, or you run out of corn.
-
Close the pressure canner and secure the lid. Leave the vent open, adjust the heat to medium-high, and bring the canner to a boil. Allow the pressure canner to vent for 10 minutes, then place weight on the vent.
-
Once the canner has reached the correct pressure (10 pounds for weighted gauge, and 11 pounds for dial gauge canners.), set a timer, and process pints for 55 minutes, and quarts for 85 minutes at altitudes of less than 1,000 ft. Adjust for your altitude if necessary (see note below). Regulate the heat as needed to maintain a steady pressure.
-
When processing time is complete, turn off the heat and let the pressure canner cool and depressurize. The time will depend on your brand and should be between 30 to 60 minutes. Follow the instructions for your pressure canner.
-
When the pressure canner is depressurized, spread a kitchen towel on the counter, remove the weight from the vent pipe or open the petcock, and wait 10 minutes for the jars to adjust to the change in pressure.
-
While wearing pot holders, unlock the cover and remove the lid while tilting it away from you so that steam does not burn your face. Allow another 10 minutes for the jars to adjust to the change in pressure.
-
Use a jar lifter to remove the jars from canner and place on the towel. Keep the jars upright, and don't tighten bands or check the seals yet. The jars will be hot and bubbling. Let the jars sit undisturbed for 12 to 24-hours to cool.
-
Wait until the jars have cooled for at least 12-hours, and then check to be sure jar lids have sealed. Test the seal by pushing on the center of the lid. The lid should not pop up. If the lid flexes up and down, it did not seal. Refrigerate the jar and use up within a few days.
-
Remove the screw on bands and wash the jars. Label, date, store the jars in a cool, dark place (50 to 70 degrees F). Use within a year for the best quality. Yields 9 pints or 7 quarts.
You will need about 20 pounds of corn on the cob for a full canner load of 9 pints, and 32 pounds for a canner load of 7-quarts.
This is a tested safe canning recipe from the USDA Complete Guide to Home Canning and the Ball Blue Book Guide to Preserving. Changing the recipe may make the product unsafe for canning.
All times are at altitudes of less than 1,000 ft. Adjustments must be made for altitudes greater than 1,000 ft.
I am happy to answer any questions, but if you need immediate canning help or answers, please contact your local extension office.
Serving: 0.5 cup | Calories: 66 kcal | Carbohydrates: 14 g | Protein: 2.5 g | Fat: 0.9 g | Saturated Fat: 0.2 g | Sodium: 12 mg | Potassium: 207 mg | Fiber: 2 g | Sugar: 2.5 g | Iron: 2 mg

You May Also Like:
- How to Can Dried Beans
- How to Can Potatoes
- How to Can Carrots
- Other Ways to Preserve the Harvest
Good planning is key to a successful vegetable garden
Whether you are new to growing your own food or have been growing a vegetable garden for years, you will benefit from some planning each year. You will find everything you need to organize and plan your vegetable garden in my PDF eBook, Grow a Good Life Guide to Planning Your Vegetable Garden.

Source: https://growagoodlife.com/canning-corn/
Post a Comment for "Tossed Up Corn Corn Husks in Blue Cardboard Box"